How To Enhance Apple Watch Security
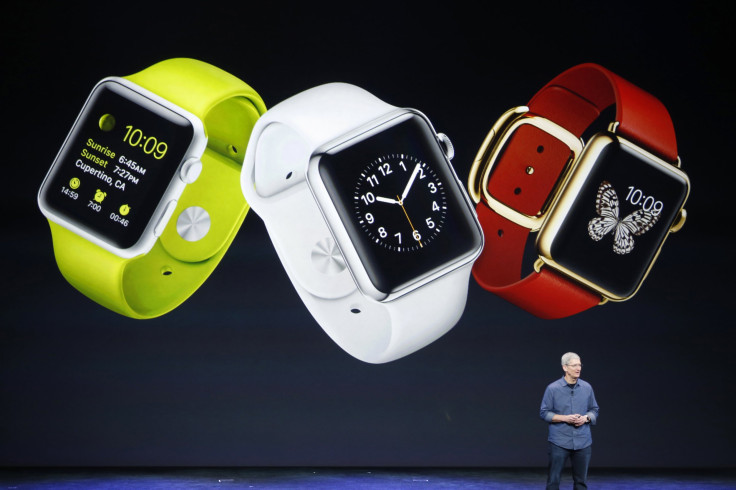
If you own an iPhone and are not wearing an Apple Watch on your wrist yet, then it is safe to say this gadget is probably somewhere at the top of your wish list. Released in 2015, it has evolved from being a device that heavily relied on pairing with your smartphone – to a growingly autonomous and intelligent IoT entity.
The latest-generation Apple Watch can be used to pay for goods, control a smart home, monitor your health condition, track your workout, and do many more awesome things to deliver a seamless user experience. It also stores a good deal of your personal data and it is in your best interest to protect it from prying eyes. Your credit card details for Apple Pay, your text messages, and your emails are a few examples of what you need to keep safe.
Whereas most users are knowledgeable about the features to safeguard sensitive information on iOS devices, the overall awareness of the security mechanisms built into watchOS is not as high. This article will bridge the gap by providing several important tips to make sure your data stays intact even in a worst-case scenario.
Make the Most of the Passcode Lock
The most effective way to prevent unauthorized access to your Apple Watch and its data is to use a passcode. If you are going to use the gadget to make online purchases with Apple Pay, specifying the passcode is a mandatory element of the initial setup.
In case you do not implement this locking mechanism from the get-go, you can do it easily at a later point. Just open the Watch app on your iPhone paired with the wearable device, proceed to “My Watch”, and select “Passcode”. The requirements regarding the complexity of the secret string are quite flexible. It should be at least four digits long, or you can set a harder-to-guess combo by entering up to 10 digits.
This procedure is also doable on the Apple Watch itself. Open “Settings”, tap “Passcode”, select “Turn Passcode On”, and specify the code. Make sure the passcode does not match the one you use on your iPhone – this will allow you to steer clear of what is called a single point of failure down the line.
As opposed to the Passcode Lock feature on an iDevice, you do not have to enter the code every single time you unlock the Apple Watch. The gadget comes with a functionality called Wrist Detection. If enabled, it automatically locks the watch once you take it off. The device will only require your passcode when you put it back on. You will also have to enter that combo of digits when restarting the gadget.
To make things easier, consider enabling the feature called “Unlock with iPhone”. It is available in the above-mentioned Watch app menu on your smartphone. This option is self-explanatory: if you toggle it on, the watch will be unlocked whenever you unlock your iPhone. Of course, this only applies to situations when you are wearing the watch on your wrist.
Data Self-Destruction as an Emergency Measure
To give your passcode hygiene an extra boost, you can specify the number of unsuccessful unlock attempts after which all personal data will be obliterated from the device. The default setting invokes a one-minute delay after a wrong passcode is entered six times. That is a trifle compared to a scenario that kicks in if you slide the “Erase Data” toggle to the On position in the Watch app on your paired iPhone or in the watch settings. This way, if somebody enters an invalid string ten times, all data will be completely wiped from the watch.
Although this sounds like a scorched-earth tactic, it can really make an evildoer frown if the device ends up in the wrong hands. On the other hand, if you forget the passcode and exceed the limit of failed attempts yourself, this could be a serious problem unless you have a backup to restore your watch. So, whereas it is strongly recommended to turn “Erase Data” on, weigh up all the pros and cons beforehand.
Take It Up a Notch with Activation Lock
If your Apple Watch is stolen or if you happen to misplace it, any security measure is cold comfort because you may never get the digital pal back. But, you can still prevent its data from being obtained by another person. The feature called Activation Lock will do the trick, making your smartwatch absolutely useless for anyone who steals or finds it. On a side note, it requires watchOS 2 or newer.
When enabled, it pretty much “bricks” the device that goes missing. A potential malefactor will not be able to unpair it from your iPhone, pair it with their iPhone, or deactivate the geolocation functionality unless they enter your valid Apple ID and password.
In case the Find My iPhone feature is already enabled and properly configured on your smartphone, Activation Lock turns on automatically. It will not hurt to make doubly sure it is up and running, though. To do it, open the Watch app on your iPhone, head to “My Watch”, and tap the “i” icon. If “Find My Apple Watch” is listed there, it means the feature enabled. Another thing on the plus side of this functionality is that it does not require an Internet connection.
Pinpoint Your Lost Apple Watch
As previously mentioned, the Find My iPhone feature on your smartphone has got your companion Apple Watch covered so that you can locate your lost or stolen wearable device. It is worth mentioning that the first-generation Apple Watch did not have a GPS module on board and therefore its whereabouts could not be determined that way.
Although the Cupertino company equipped Apple Watch Series 2 with GPS, the gadget still relied on its paired iPhone’s wireless Internet connection to be spotted. It showed the coordinates of a place where it was last connected to Wi-Fi.
From Series 3 onward, the device boasts fully-fledged LTE connectivity and the users can benefit from Find My iPhone to locate the watch accurately based on the signal from a nearby cell tower. By the way, you do not necessarily have to use an iOS device to track down your Apple Watch. The same functionality is available on iCloud.com.
Find My iPhone additionally provides a feature called Lost Mode. It allows you to enter a short custom message that will be displayed on the screen of your Apple Watch. Be sure to include your phone number or email address there so that the person who finds it can contact you. Importantly, when Lost Mode is turned on it also blocks Apple Pay services on your smartwatch.
Keep Your Notifications Secret
If privacy is among your top priorities, then you may want to hide your personal notifications from snoops or overly curious friends. Thankfully, watchOS makes it remarkably easy to do with the feature called Notification Privacy. To turn it on, head to the Watch app on your iPhone, tap “My Watch”, proceed to “Notifications”, and slide the “Notification Privacy” toggle to the right.
What does this change? From now on, the smartwatch will let you know that there is a new notification, but no details will be shown on the display. To see the message, you will need to tap the alert. This is a great feature that definitely belongs in a privacy-minded user’s handbook.
Summary
Not only does Apple Watch help you stay connected and well-organized at all times, but it also comes with a decent set of features protecting your privacy and personal data from different attacks aimed at Apple devices. Although many users fail to apply these simple customizations, it is never too late to give them a shot and enjoy a combo of security and convenience literally at your fingertips.
- MOST POPULAR IN Technology